Blood Covenant Trailer

Blood Covenant, a remake of an old classic that has been in Quake games since forever, has gotten it's own trailer. Some areas of the map are same as in Campgrounds, some are changed and some are completely new, but it's the best if you take a look at the trailer yourself.
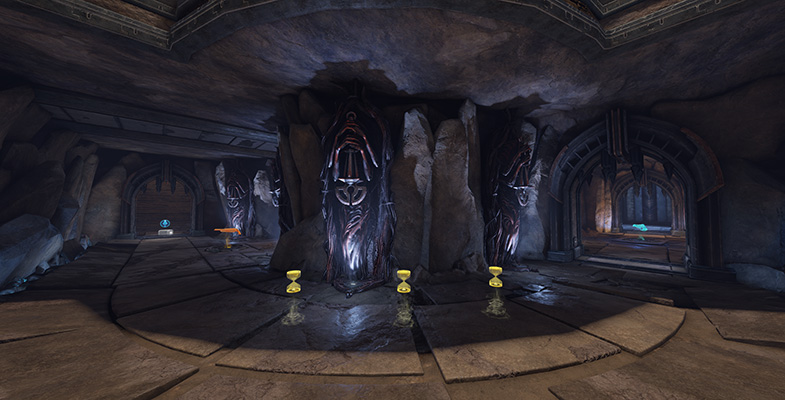
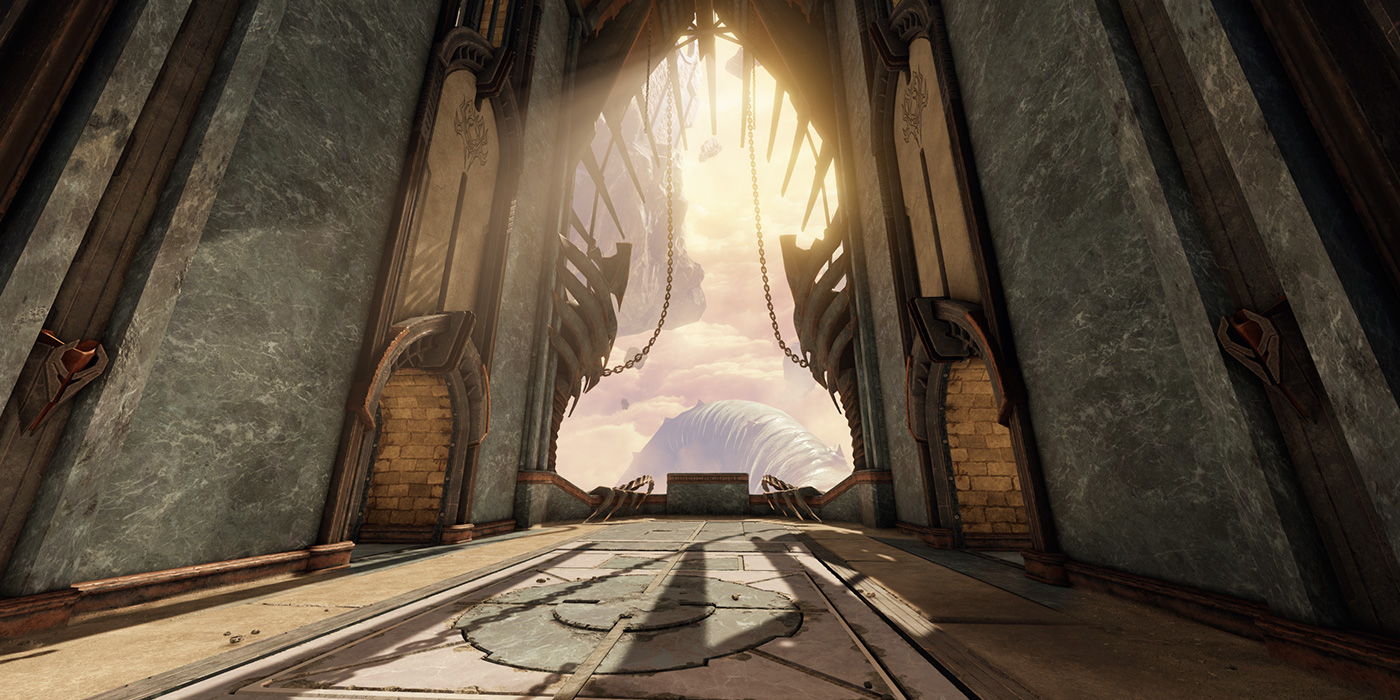
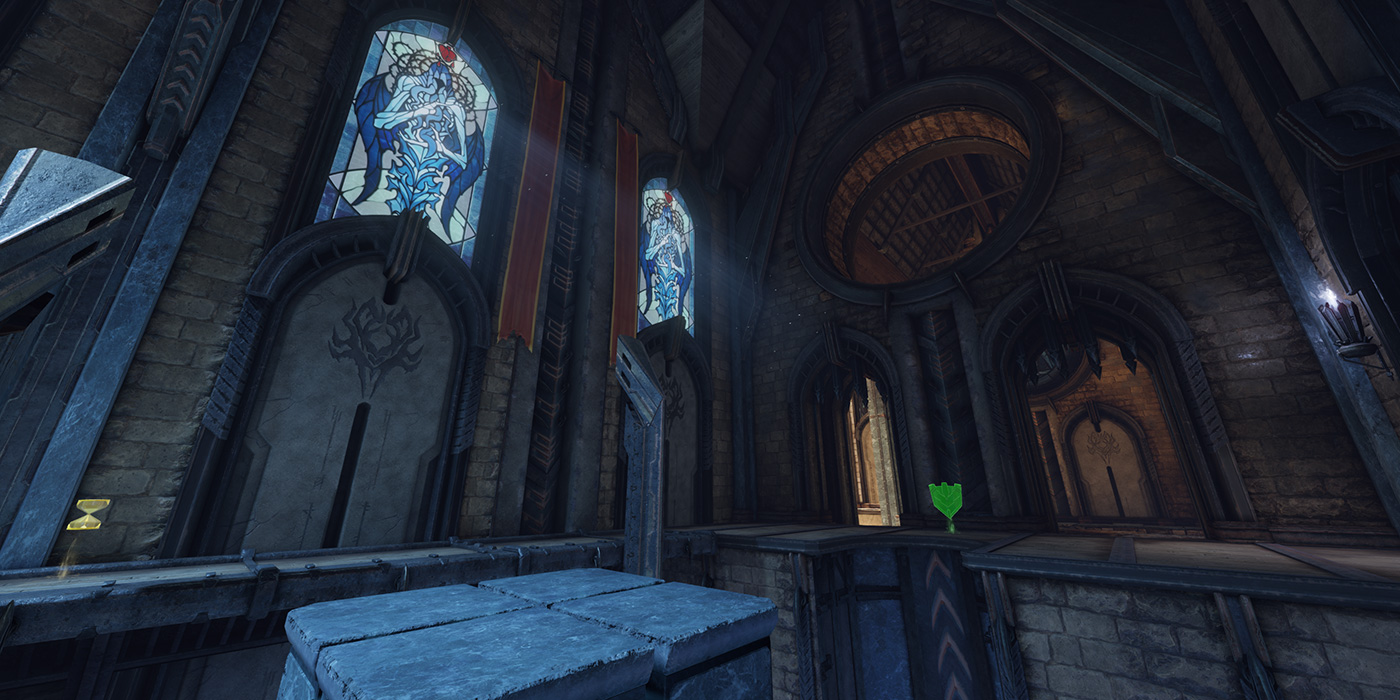
Blood Covenant. Faceless monks tend its onyx-lined sluiceways, lest even a gobbet of the celebrants’ ichor should fail to reach their Ravening Shepherd.
- Elder God: Volkerh
- Health Items: 15
- Armor Items: 3
- Cooldown Items: 22
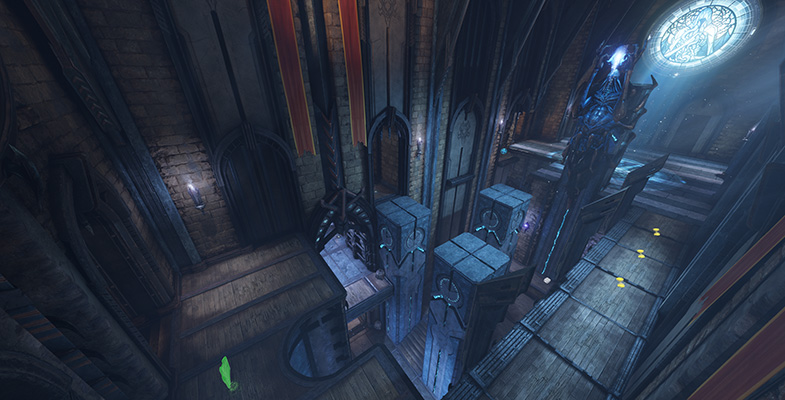
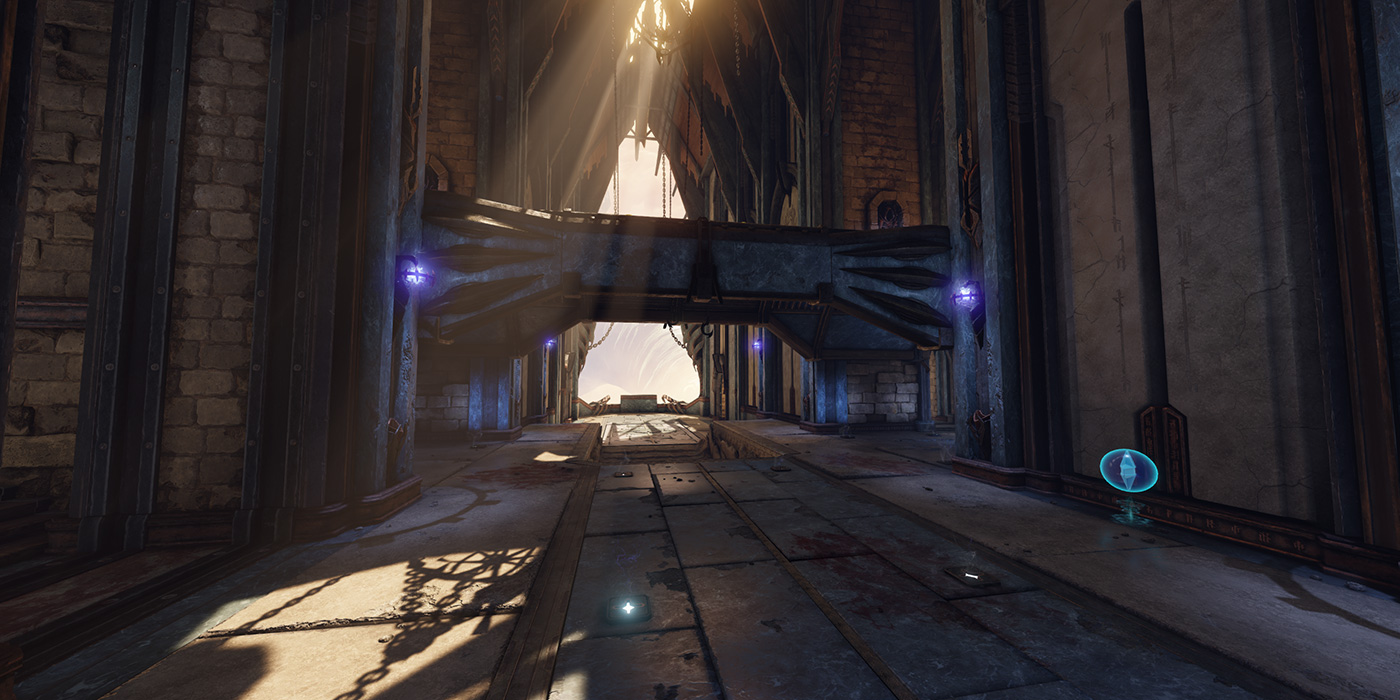
Combat on the bridge consists of players using the high ground to shoot down on the players on the mid-level Balcony, while also defending against an influx of players from the lower Catacombs. In Sacrifice this becomes a difficult point to maintain control of, unless your team utilizes the side balconies to provide cover and flank attackers.
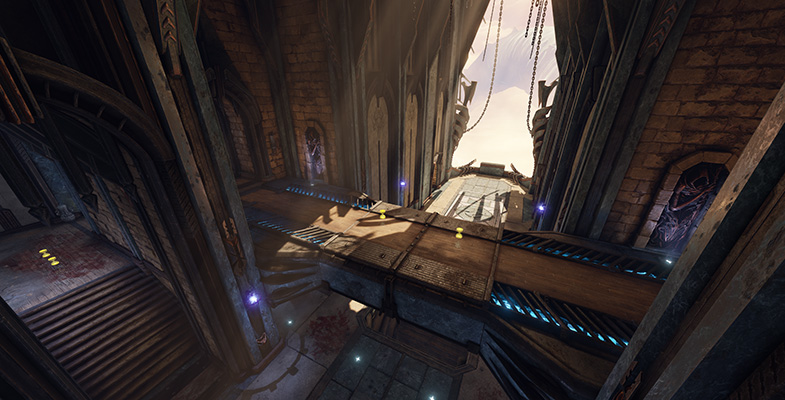
Combat here consists of players using the Bridge as high ground to shoot down on the players on the mid-level Balcony, while defending against pushes from the lower Catacombs. In Sacrifice this becomes a difficult point to maintain control of, unless your team utilizes the side balconies to provide cover and flank attackers. This point will also receive heavy damage from attackers who control the Rail Curve. Maintaining control of this perimeter position ensures that while defending the Obelisk you can take your aggressors on both head-on and from behind.
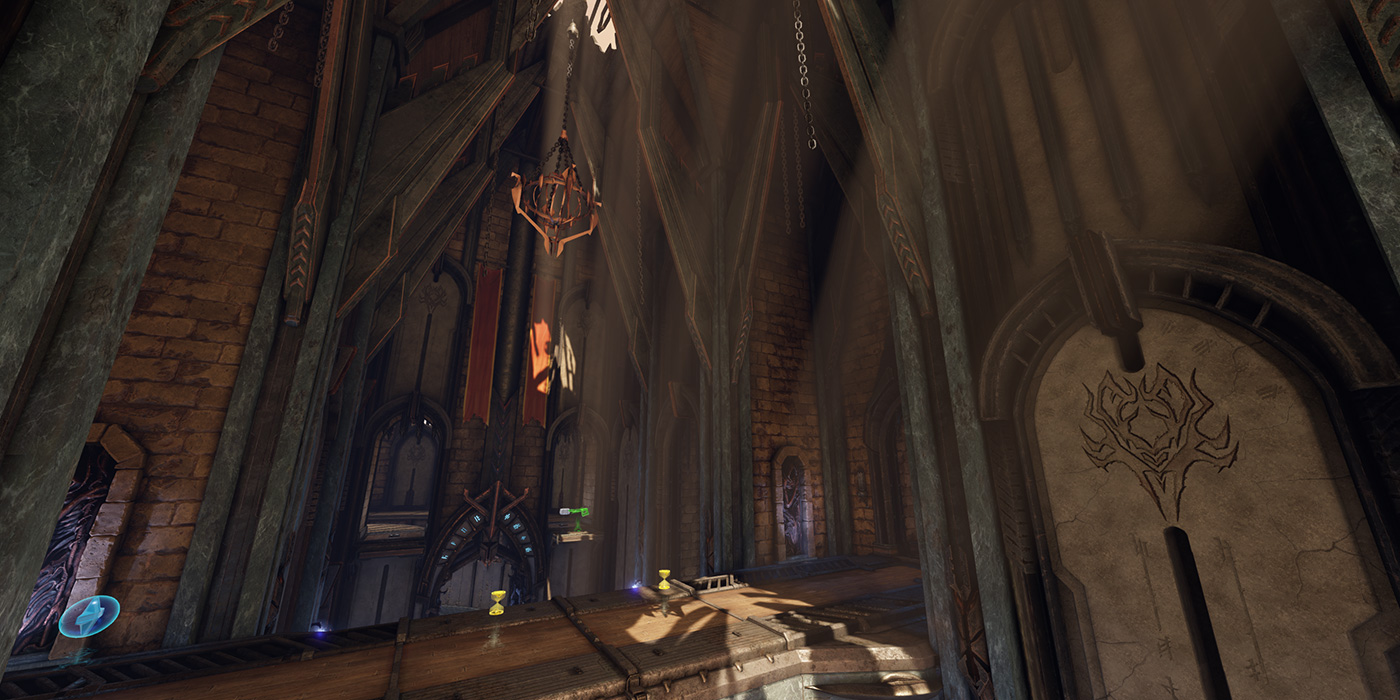
Controlling this hall will grant the defender easy access to both the Railgun and Mega Health (Deathmatch) or Heavy Armor (Sacrifice). This defender can then act as a gatekeeper, sharing access to these two items with their teammates when the defender has a large enough armor stack of their own to maintain control. When players defending this hall are challenged, one often has to seek an escape route downward to the mid-level or fall all the way to the Catacombs.
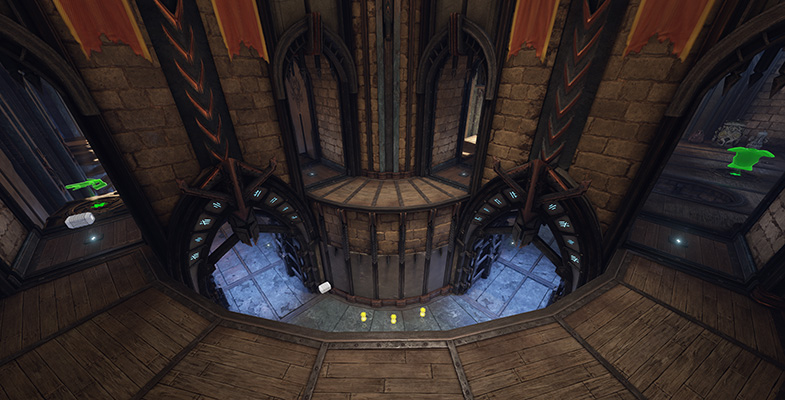
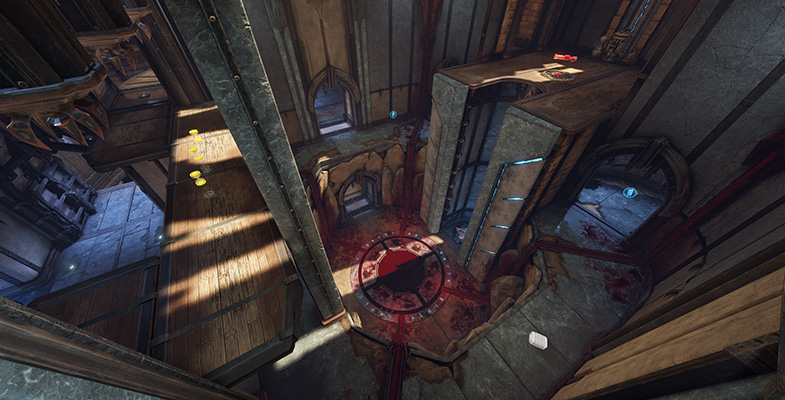
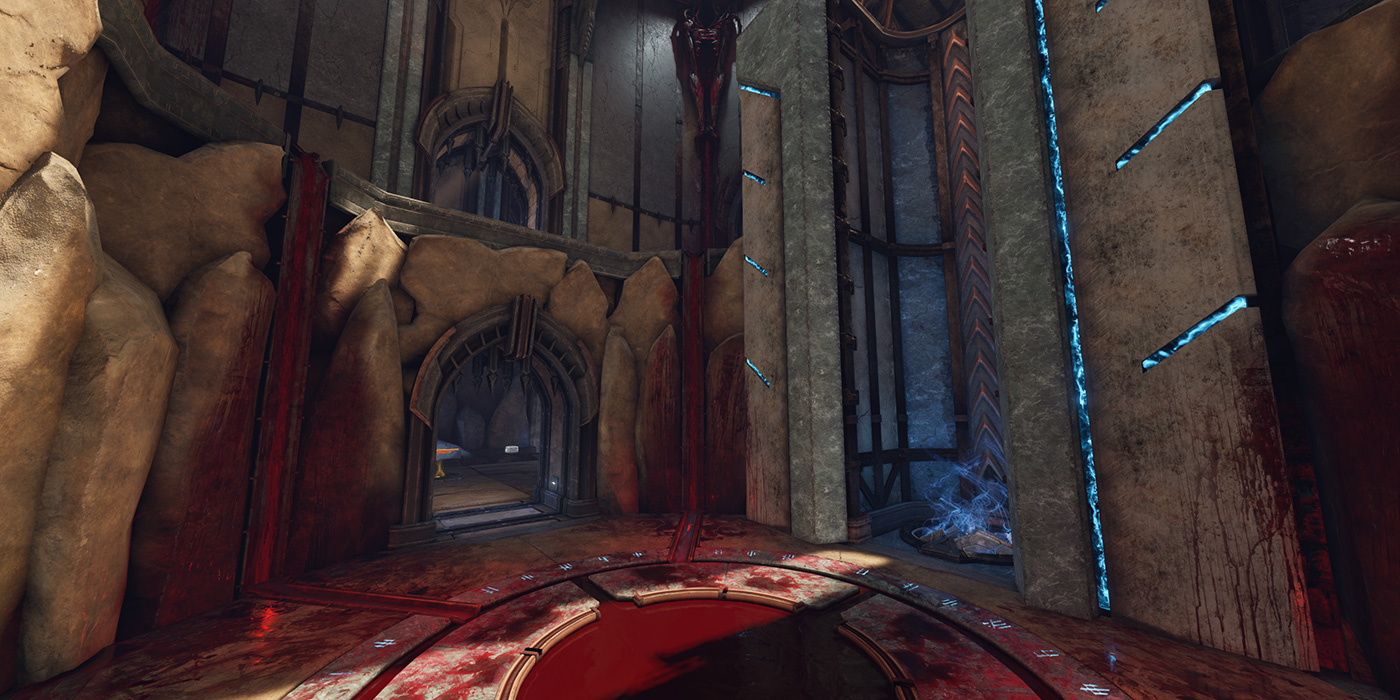
When action becomes too intense, the Catacombs are a great place to recharge or briefly hide out away. The cool downs in the curve are great for restoring your Active Ability, but the most important item is the Lightning Gun, a vital weapon for skilled players. The trip to the depths of the Catacombs is well worth the challenge of working your way back up. This area will get a lot of action with players feeding in from the Blood Pool or dropping down from the Rail Curve.
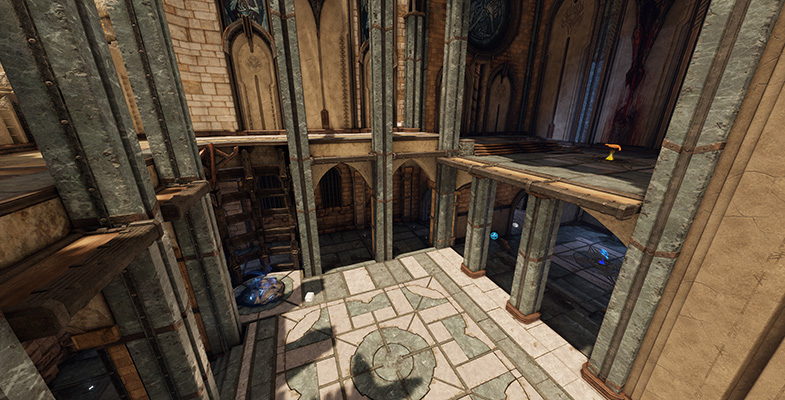
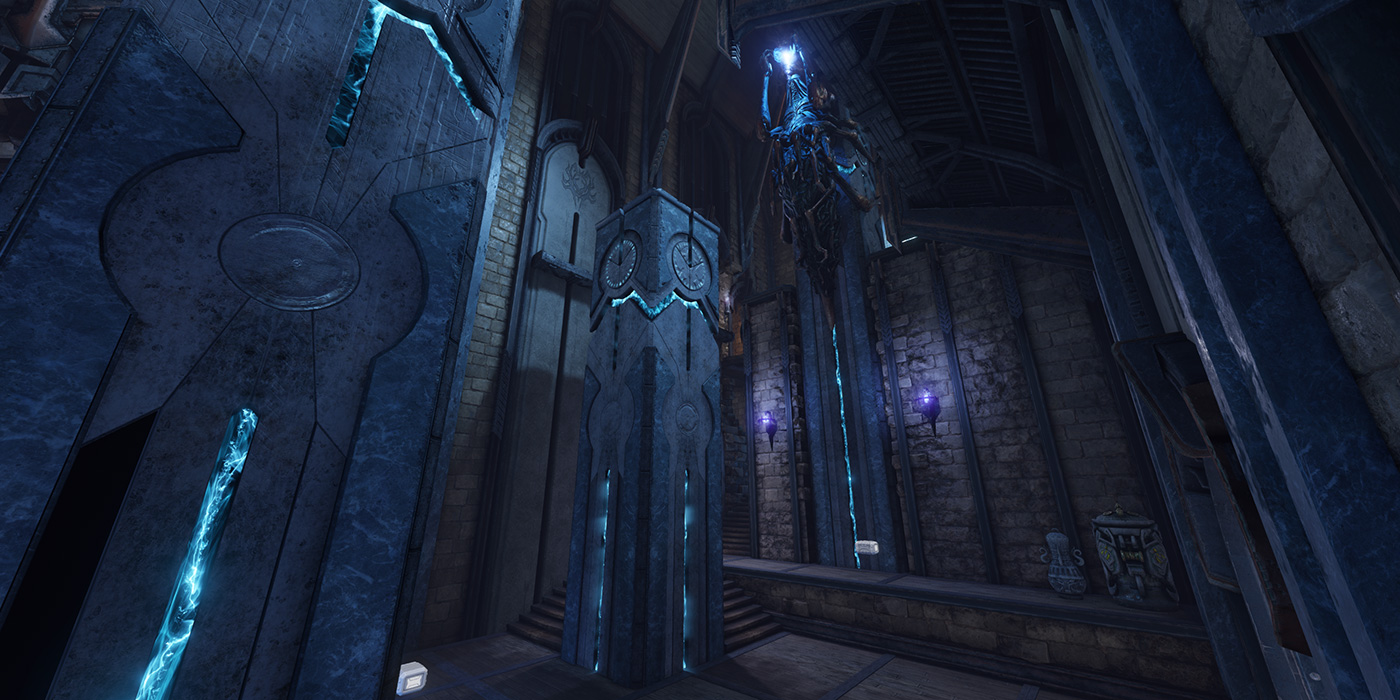
The central HUB of the map, players in this area are susceptible to Railgun fire due to it being a large open area that connects to all main areas. It is common for players controlling the Rail Curve to fire across this main room picking off players moving from Balcony to Pillars or vice versa. Players who utilize the main central jumppad take a huge risk of being railed from near the Mega Health (DM) / Heavy Armor (Sacrifice), or risk Rocket and Shotgun fire from the high ground. This is often a necessary risk that will reward players with the high ground, rocket launcher, and access to the Bridge or the Upper Pillars.
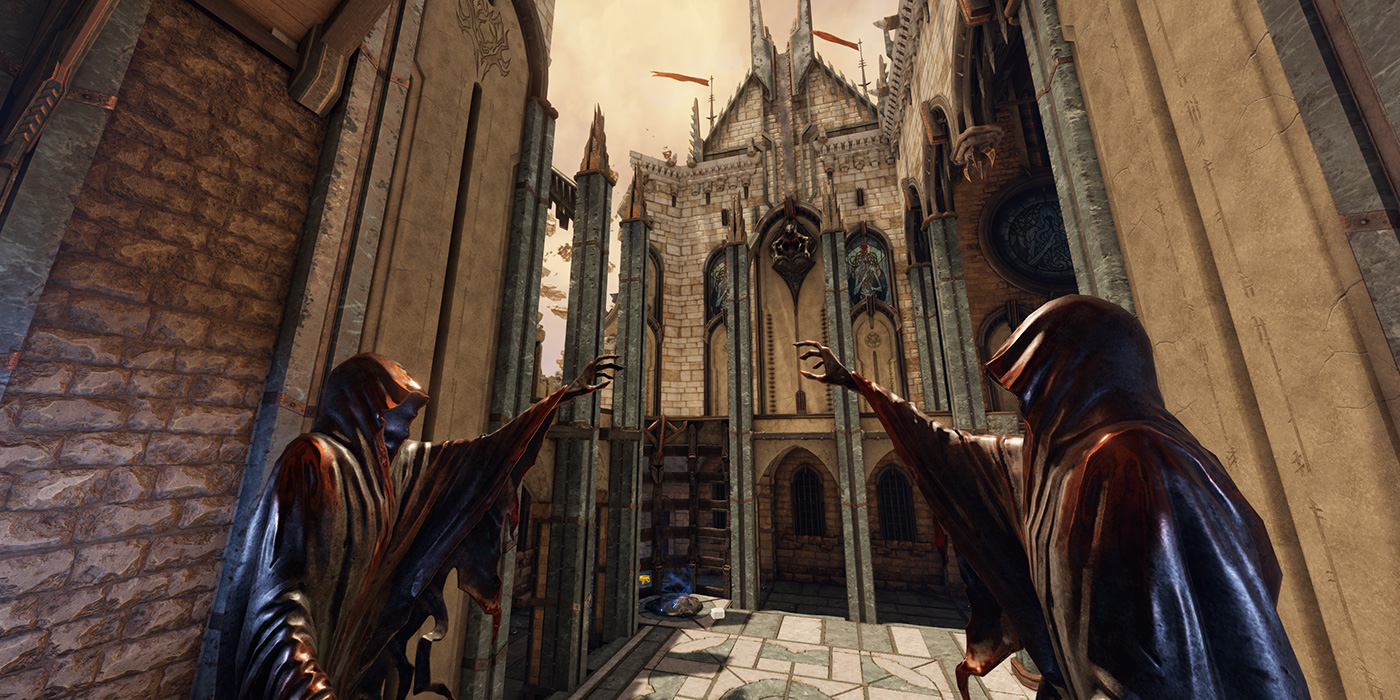
Across either the precarious pillars or the walkway along the wall lies a larger open fighting area behind the Statue of M’yriah. This high ground is very important as it is where the power-Up spawns. Both teams need to learn to gauge when the power-up will be spawning and position themselves so that they may be in the area just before it becomes available. Your team controlling the power-up is vital to maintaining control or turning the tide. Because this room lies between the two points, it should also be self-evident that this means your team cannot simply defend the Obelisk, but must also defend the perimeter rooms to keep powerful items from falling into the hands of your opponents.
Source: Bethesda.net